What to expect during your mobile spray tan appointment
Have you ever had a mobile spray tan before? I often get asked, what should I expect during the appointment, so here’s a quick summary, and then a detailed breakdown of everything to expect at your mobile spray tan appointment. To read more about airbrush spray tans, read my blog post, What is an Airbrush Spray Tan.
Quick Summary:
Prep: Read preparation instructions and be prepared!
Questions: Artist will ask you questions to get to know you to be able to customize the tan to you.
Set Up: The tent and spray gun take about 5 minutes to set up, the artist needs a location about 3X3 with light if possible.
Wear: Your choice of underwear (artist can provide disposable underwear), swimwear, or go without!
Hair & Feet: Artist will provide a hair net and sticky feet to protect your soles.
Spray Time: It takes about 10 - 15 minutes and you’ll be standing in many crazy positions to ensure full coverage.
Drying: Air hose and blending brush will be used for smooth and even results.
Post-Tan: Loose clothes, cool shower, and gentle moisturizers.

In Detail: What Happens at Your Spray Tan Appointment
Alright, I know this is a long read, BUT, if you’re new to mobile spray tans or it’s been a while, here’s everything you need to know so there’s no surprises!
Read Prep Instructions
Before you get your glow on, make sure you've gone over the prep instructions! Prepping right is the secret to a flawless, even tan that lasts, so don’t skip it.
Getting to Know You
Your artist will kick things off with a quick chat about your tanning goals and experience. Whether you’re prepping for a vacay, wedding, or just wanna glow, they'll ask how deep you want your tan and how long you can leave it on. It’s basically a tanning game plan!
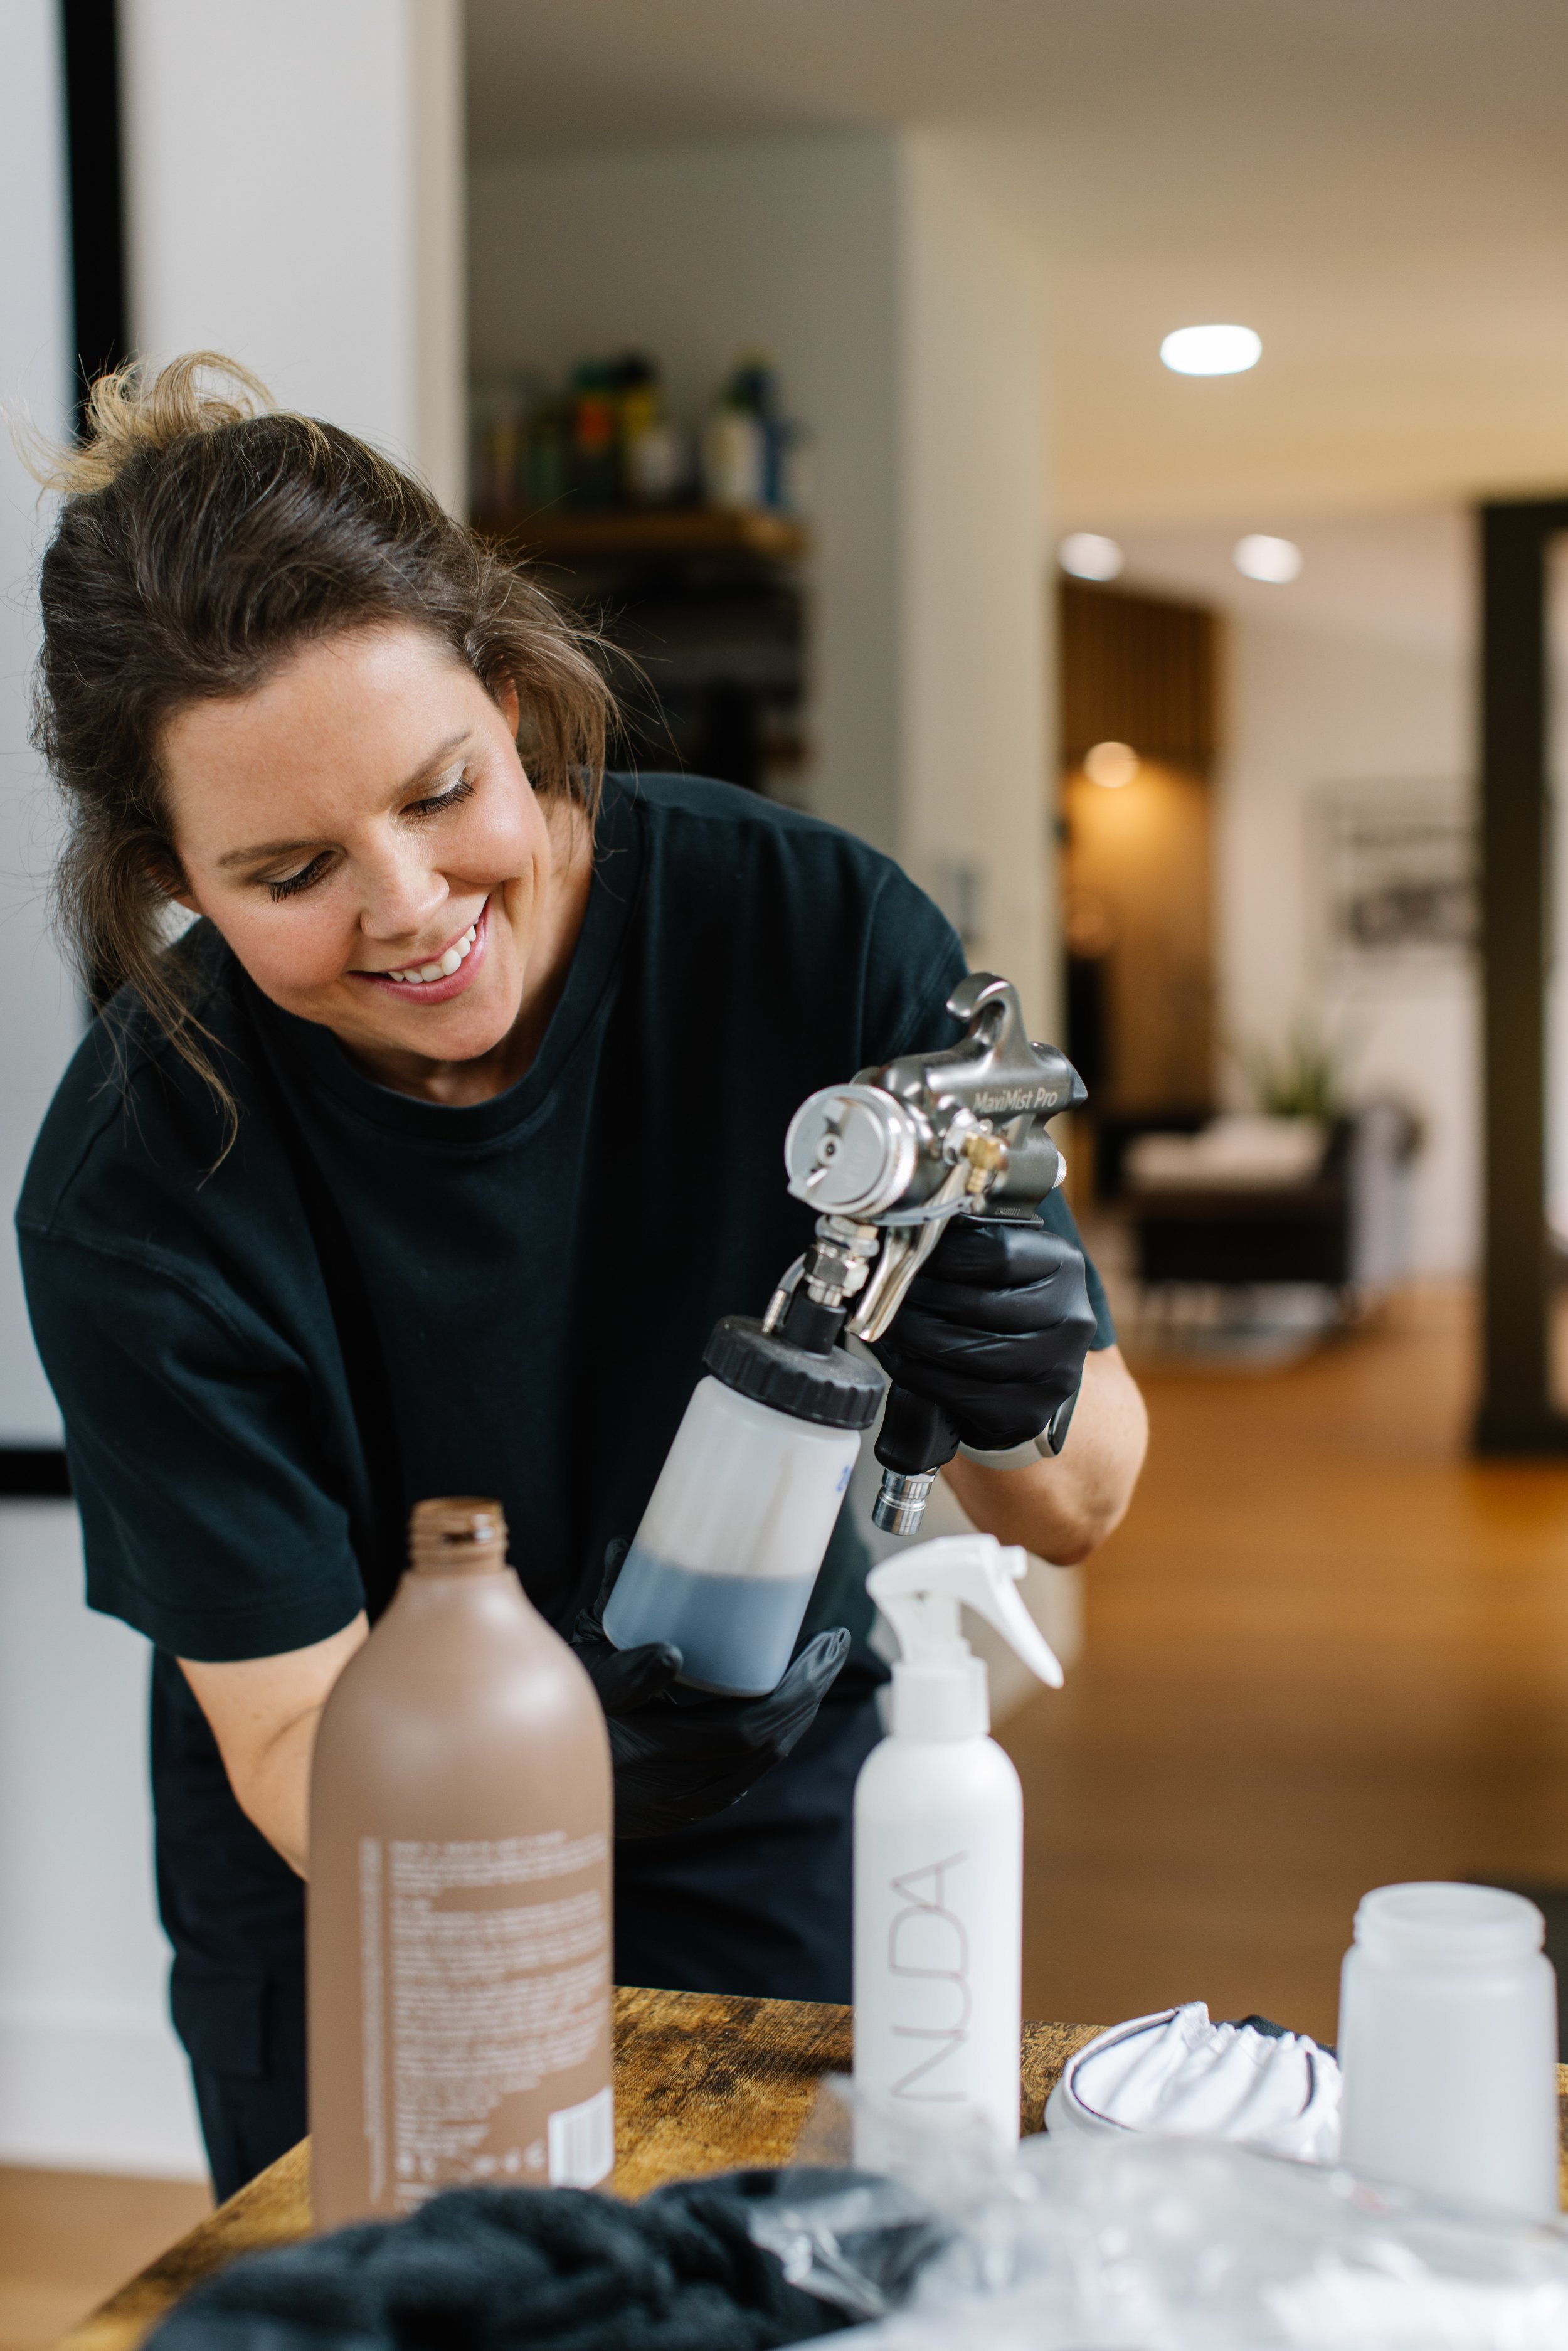
Mixing Up Your Formula
Now the fun science part! Your artist will mix up the perfect custom formula to match your skin tone, the bronze level you’re after, taking in consideration how long you have to leave your tan on. It’s like a magic potion for your skin! The products we use are all natural and good for the skin! You can see our Ingredient List here.
Setting Up the Tent
While you're getting comfortable, your artist will take about 5 minutes to pop up the tanning tent and set up the spray gun. All they need is a 3x3 space with decent lighting, and if you’ve got a bathroom, even better! Got power outlets nearby? Awesome! If not, they’ve got extension cords.
What to Wear
Here’s where you can let loose. Wear whatever you’re comfortable with! Your own undies, a bikini, or go totally au naturel—your call. Just think ahead to what tan lines you want (or don’t want). Formal dress, vacation bikini, or casual vibes—make it work for you! The important thing here is that you feel comfortable. And don’t worry, your spray tan artist has done this a million times before, so they’ll be relaxed and help you ease into it.
What not to wear
Jewelry! It’s so easy to forget that you have the jewelry on that you wear all the time! But it’s important to remove so that you don’t have any weird tan lines. Your artist will also keep an eye out for this and remind you if needed. Got permanent jewelry on? Don’t stress! Just let your spray tan artist know that you can’t remove it, they have ways to work around it and make sure your tan still blends evenly without any tan lines.
Hair Protection
Your artist will hook you up with a cute little hairnet to keep your locks safe. Did I say, cute? Maybe that’s not exactly the right work, but it does the job! Make sure your ears and hairline are showing so we don’t miss a spot on your face. No one wants weird tan lines around the hairline, right? But don’t worry, your spray tan artist will keep an eye out for this to make sure your tan blends perfectly.
Undress & Enter the Tent
Now it's time to strip down (to whatever level you’re comfy with) and step into the tanning tent. It’s like your little tanning cocoon—safe, cozy, and ready to bronze!

Sticky Feet
Say hello to your new best friend: sticky feet! These are like flip-flops, but way cooler. They keep your soles from getting tanned, so step on them and you’re good to go.
Barrier Cream
To avoid any awkward or uneven spots, your spray tan artist will give you some barrier cream to apply to places like your palms, knees, elbows, and ankles. Trust us, you don’t want tanned palms!
Ready to Spray?
Once everything’s set up and the spray gun is tested, your artist will check in to make sure you’re ready. Deep breath—it’s glow time!
Crazy Poses Time!
Get ready to strike some poses! You’ll be asked to stand in all kinds of fun (and funny) positions, like a flamingo, so your artist can get every angle. At times it may even feel like a mini workout with some squats and lunges! Don't worry, it's all part of the process for that perfect even tan.

Double Spray Passes
For an extra smooth and even glow, your artist may do two passes of spray over your body. This just makes sure you get that bronzed goddess look!
To Tan or Not to Tan the Face?
It’s totally up to you! Want your face tanned too? Great! If not, no problem—your call on whether to include a facial glow.
Drying Time
As you’re getting sprayed, your artist may use a little air hose to dry off the tan so it sets perfectly. It’s like a warm breeze—feels amazing!
Blending & Touch-Ups
Some spots are tricky, like your wrists or knees, so your artist might use a blending brush to smooth everything out. No streaks or splotches allowed!
Removing Sticky Feet & Hair Cap
Once the glow-up is complete, your artist will carefully peel off those sticky feet and take off your hair cap so you don’t smudge your tan. We’ve got you covered!

The Post-Tan Chill
If you’ve got time, hang out for 10-15 minutes before getting dressed to let your tan dry fully. That’s the beauty of getting a mobile spray tan in your own home! If not, throw on some loose, comfy clothes (nothing tight, especially bras) so you don’t rub off the fresh tan.
How Long to Leave the Tan On?
Your artist will let you know how long to keep the tan on before rinsing, based on how deep you want the color. Could be a quick rinse in 1-2 hours or longer if you're aiming for a richer shade. You can read more about this on our blog, How Long Should You Leave a Spray Tan On.
First Shower Instructions
Your first shower is crucial! Use cool water, skip the soap, and gently rinse off the bronzer with your hands until the water runs clear. Make sure you pat dry gently with your towel. Don’t freak out if it looks like your tan is disappearing—it's just the bronzer! Your tan will keep developing over the next 12-24 hours.
Shower & Moisturize After 24 Hours
After the 24-hour mark, you can go back to your usual shower routine. Just avoid harsh soaps or products with sulfates and alcohol (they’re tan killers!). Stick with simple, hydrating moisturizers to keep your glow going strong.
Ongoing Aftercare
Want to keep that tan glowing as long as possible? Check out our aftercare instructions for tips on making it last and staying bronzed for days!
Now that you know what’s coming, you’re officially ready to get your glow on! Let’s do this!
Want even more detail than this? Head over to our blog and read What to expect during your spray tan appointment. It has detailed information about the process as well as things to consider and what to expect so there are no surprises on the day!
